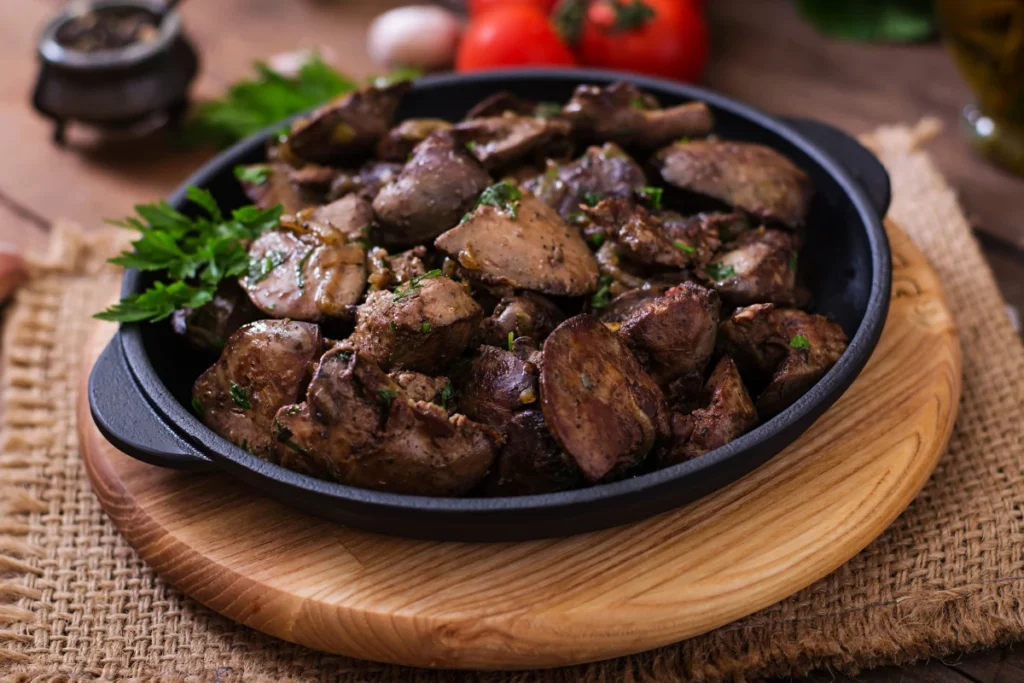
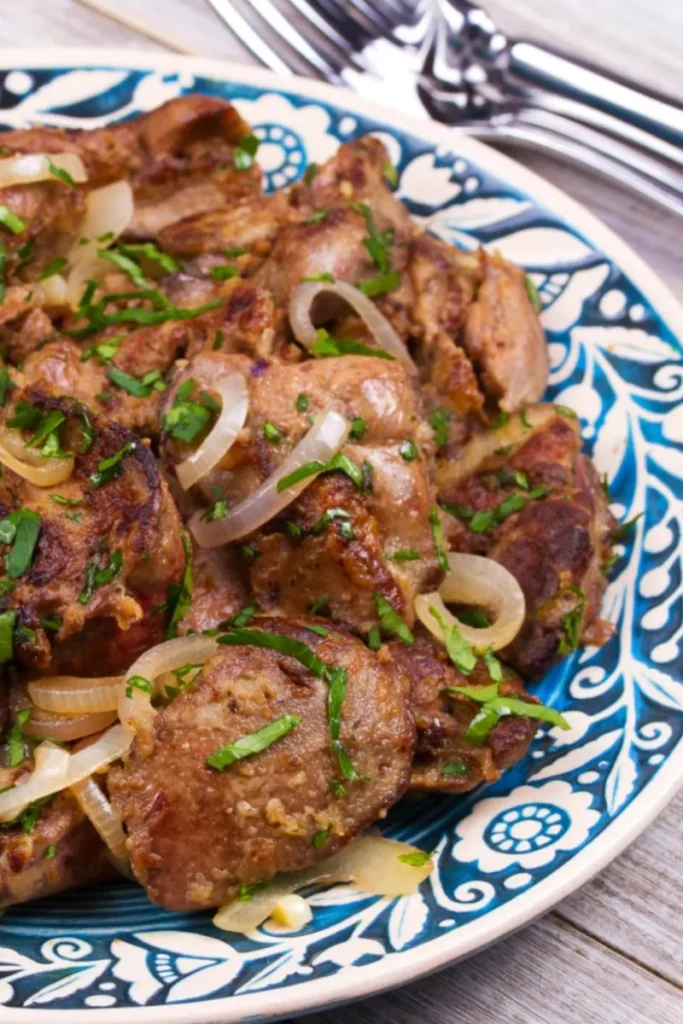
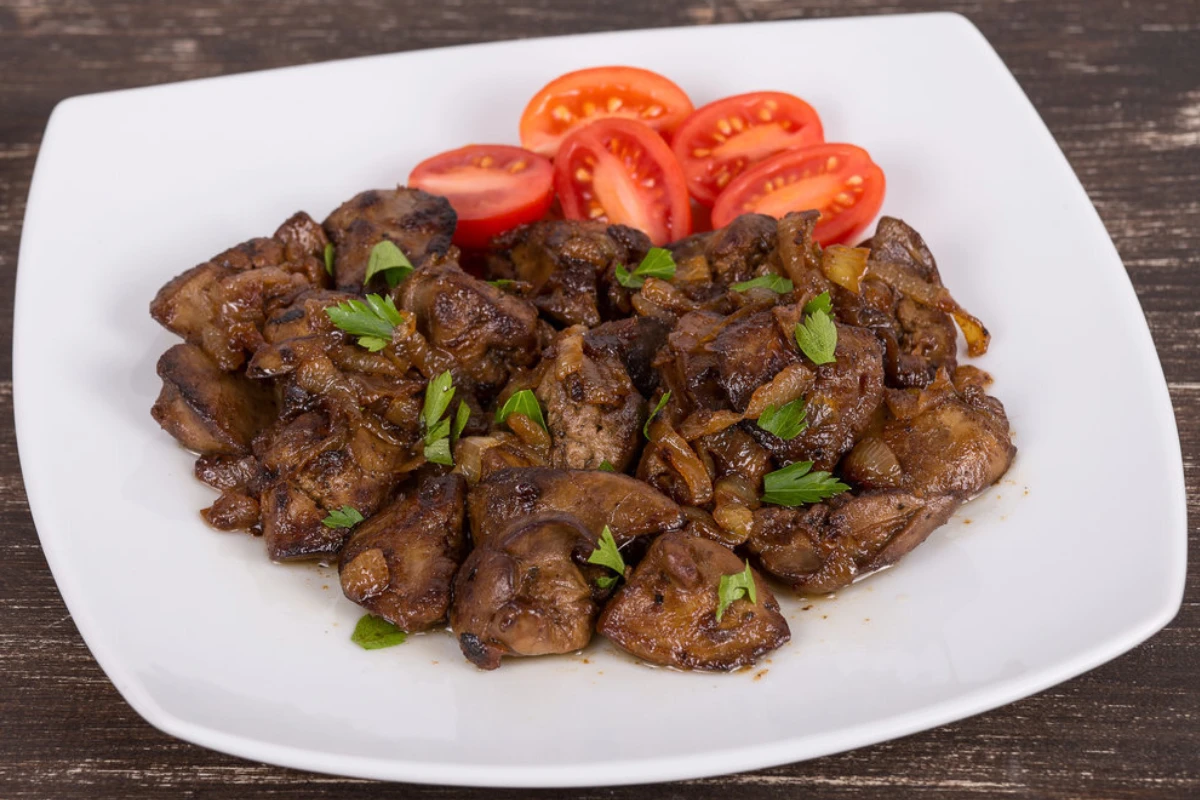
Welcome to our culinary journey into the heart of comfort food: fried chicken livers, This delicacy recipe, often overshadowed by its more popular counterpart, the classic fried chicken, deserves a spotlight for its rich flavor and nutritional value. Whether you’re a seasoned liver lover or a curious foodie, this guide promises to transform your kitchen into a haven of deep-fried delight.
Who Should Try This Recipe
Fried chicken livers recipe is a call to all home cooks looking for a hearty meal, liver enthusiasts craving that perfect crunch, and anyone in between seeking to explore the depths of traditional comfort food.
Why Fried Chicken Livers Are a Must-Try
Fried chicken livers offer a unique taste experience, combining a creamy interior with a crispy exterior. They’re not only delicious but packed with iron and proteins, making them a nutritious addition to your diet.

Ingredients:
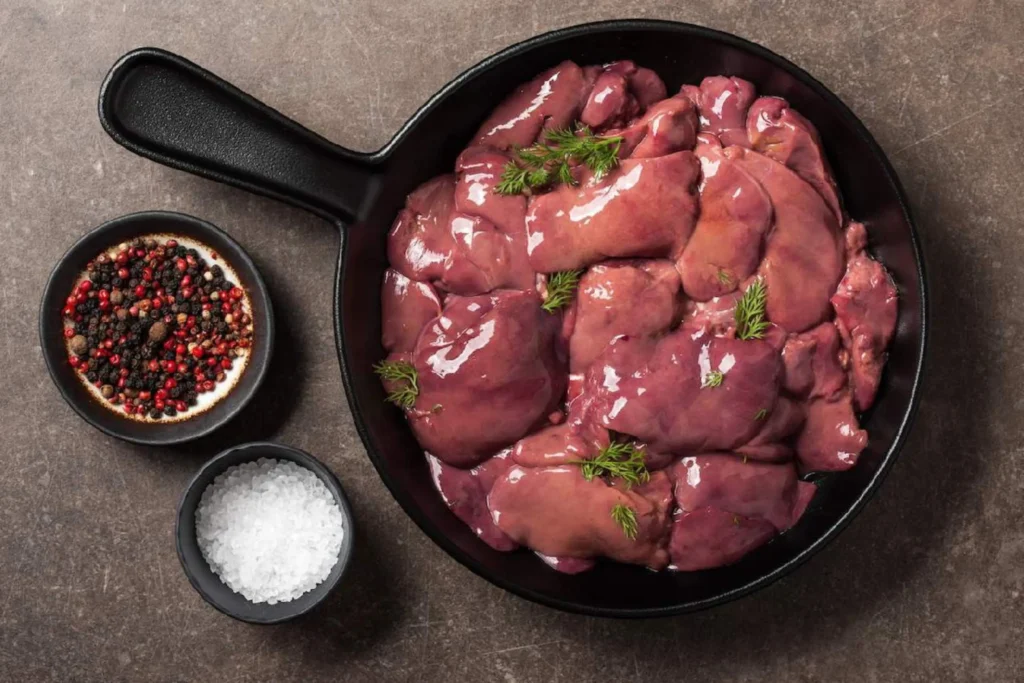
- 1 pound chicken livers, cleaned and trimmed
- 1 cup all-purpose flour
- 1 teaspoon salt
- 1/2 teaspoon black pepper
- 1/2 teaspoon garlic powder
- 1/2 teaspoon paprika (optional for added flavor)
- 2 eggs
- 2 tablespoons milk
- Vegetable oil for frying
How To Make Fried Chicken Livers Recipe
- Preparation: Start by cleaning the chicken livers. Cut away any green spots or connective tissue, then rinse them under cold water. Pat them dry with paper towels.
- Season the Flour: In a shallow dish, mix together the flour, salt, pepper, garlic powder, and paprika. This mixture will be used for coating the chicken livers.
- Egg Wash: In a separate bowl, beat the eggs and milk together. This will help the flour mixture stick to the livers.
- Coat the Livers: Dip each liver first in the egg wash, letting the excess drip off. Then dredge it in the flour mixture until well coated. Shake off any excess flour.
- Frying: Heat about 1/2 inch of vegetable oil in a large skillet over medium-high heat. Once the oil is hot (you can test it by dropping a small amount of flour into the oil; if it sizzles, it’s ready), carefully add the chicken livers. Do not overcrowd the pan; you may need to work in batches.
- Cooking: Fry the livers for 2-3 minutes on each side or until they are golden brown and crispy. The internal temperature should reach 165°F (74°C) for safety. Use a thermometer to check.
- Serving: Once cooked, transfer the chicken livers to a plate lined with paper towels to drain any excess oil. Let them rest for a minute or two before serving.
- Enjoy: Serve the fried chicken livers hot. They can be enjoyed on their own, with a side of your favorite dipping sauce, or as part of a larger meal.

After enjoying your fried chicken livers, why not try our Buttermilk Gravy Recipe as a delicious accompaniment?
Recipe Variations and Swaps
Experiment with spices like cayenne for a kick or swap breadcrumbs for a gluten-free alternative.
How to Store Leftovers?
Storing leftover fried chicken livers properly is essential to maintain their flavor and ensure they are safe to eat when reheated. Here are steps to store them effectively:
Cooling Down:
- Allow the fried chicken livers to cool to room temperature after cooking. However, do not leave them out for more than 2 hours to avoid bacterial growth.
Preparing for Storage:
- Place the cooled chicken livers in a clean, airtight container. You can also use resealable plastic bags if preferred. If you’re using a container, ensure it’s not overly large for the quantity of chicken livers to minimize air space, which can cause the livers to dry out.
Refrigeration:
- Store the container or bag in the refrigerator. Fried chicken livers should be consumed within 2 to 3 days for the best quality and safety.
Freezing (Optional):
- For longer storage, fried chicken livers can be frozen. Wrap them tightly in aluminum foil or place them in a heavy-duty freezer bag or airtight container suitable for freezing.
- Before freezing, you might want to individually wrap each liver or separate them with parchment paper to prevent sticking. This way, you can thaw only the amount you need later.
- Properly stored, they can last in the freezer for up to 4 months. However, the texture may change upon thawing and reheating.
Reheating:
- When ready to eat, reheat the chicken livers in the oven or on the stovetop until they are hot throughout. If they were frozen, thaw them in the refrigerator overnight before reheating.
- Ensure the internal temperature reaches 165°F (74°C) to ensure they are safe to eat.
For more creative ways to use any leftover chicken, check out our Leftover Fried Chicken Recipes.
FAQs About Fried Chicken Livers Recipe
Why do you soak chicken livers in milk?
Soaking chicken livers in milk or buttermilk is a classic culinary technique used to tenderize the livers and mitigate any potential bitterness or strong metallic taste often associated with organ meats. The milk acts as a gentle marinade that breaks down certain proteins in the liver, resulting in a smoother, more palatable texture and flavor. This process also helps to rinse away any residual blood or impurities, contributing to a cleaner taste. Buttermilk, with its slight acidity, is particularly effective for this purpose, adding an additional layer of flavor and further enhancing the tenderness of the livers. For more insights on the benefits of using milk in cooking, including its tenderizing effects on chicken, you can read about why cooking chicken in milk makes sense, highlighting the culinary trick that makes dinner extra delicious.
Do you rinse chicken livers before frying them?
Yes, it is advisable to rinse chicken livers before marinating them in milk and definitely after soaking. Before marinating, rinsing helps to remove any leftover bits of connective tissue or blood clots, ensuring a clean starting base for your recipe. After soaking in milk or buttermilk, draining and lightly rinsing the livers helps to remove excess milk, which could interfere with the dredging process. However, be gentle and quick to avoid washing away the tenderizing effects of the milk. Patting the livers dry before proceeding to the next step of coating them in flour and breadcrumbs is crucial for achieving a crispy exterior.
How do you prepare chicken livers?
Preparing chicken livers for frying involves a few key steps to ensure they are delicious and safe to eat. Start by cleaning the livers, trimming away any connective tissue or fat, and cutting them into uniform pieces if they are particularly large. This not only helps them cook more evenly but also improves the texture of the final dish. After cleaning, soak the livers in milk or buttermilk to tenderize them and reduce any strong flavors. Once soaked, drain and optionally rinse the livers, then proceed to dredge them in seasoned flour, dip them in beaten eggs, and finally coat them in breadcrumbs or another coating of your choice. This preparation method ensures that the livers are flavorful, tender on the inside, and crispy on the outside.
How do you keep chicken livers from splattering when frying?
Frying chicken livers can indeed be a messy affair, but there are several techniques to minimize splattering. First, ensure the livers are well-drained and patted dry after soaking and before coating them in flour and breadcrumbs. Excess moisture can cause oil to splatter when it comes into contact with hot oil. Secondly, avoid overcrowding the pan, as too many livers can lower the temperature of the oil and lead to increased moisture in the pan, causing more splattering. Thirdly, use a deep, heavy skillet or a deep fryer to contain splatters and consider using a splatter screen to cover the pan while allowing steam to escape. Lastly, maintain a consistent oil temperature, as fluctuating temperatures can cause the oil to react more violently with moisture in the food, leading to splattering. By following these tips, you can reduce the mess and hazard of frying chicken livers.

Conclusion
Fried chicken livers are a testament to the beauty of simple ingredients transforming into a feast for the senses. We hope this guide inspires you to embrace the humble chicken liver and elevate it to new culinary heights. Share your creations, subscribe for more recipes, and let’s continue to celebrate the joy of cooking together.

